Build an AirPlay Server From your Raspberry Pi Zero W
Over the summer, I wanted to buy a new AirPlay receiver for my back deck. I couldn’t find a simple device to serve this purpose, so I decided to build my own. Here’s how I did it…
Overview
We’re going to use a Raspberry Pi Zero W, and shairport-sync, to turn it into an AirPlay receiver.
Along the way, I’ll walk through how to install the OS, enable SSH and wifi, set a custom hostname, and change the default password..
Once we’re done, the Raspberry pi will appear as an option in the iOS AirPlay list, just like any “official” AirPlay device.
Step 1: Hardware
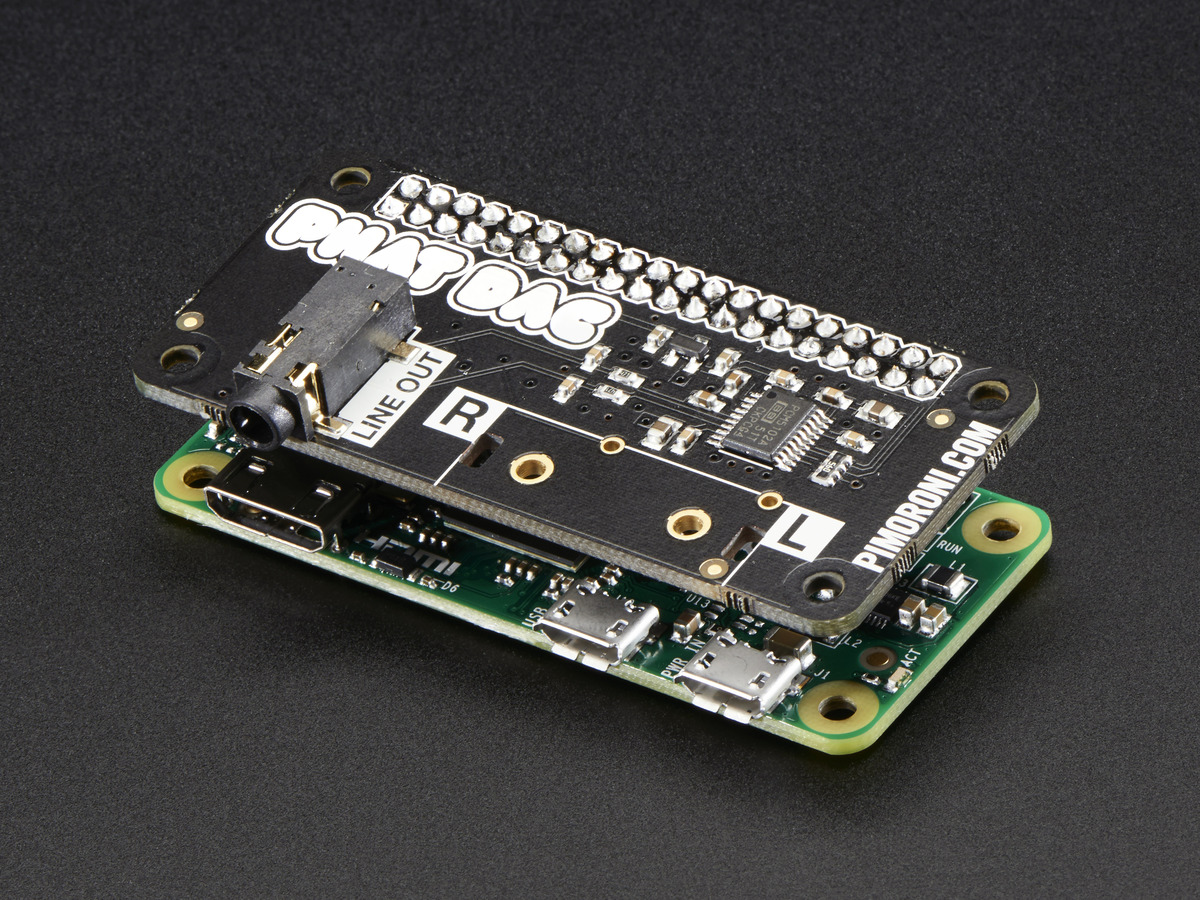
The Raspberry Pi Zero W is the smallest, cheapest wifi enabled member of the Raspi family. Reviews of the Zero W mentioned it had poor sound quality, so I decided to add on a Digital audio converter (DAC). This meant I’d need to do some soldering, but the finished result has worked out great.
The Parts:
This is what I purchased, feel free to improvise.
- Raspberry Pi Zero W ($10)
- Pimoroni Phat DAC ($15)
- Header pins ($1)
- MicroSD card ($10)
- USB Power adapter ($7.5)
You’ll also need a computer with an SD Card slot to setup the OS.
The Assembly:
Using the header pins, solder the DAC to the Pi, per these instructions.
The end result should look similar to this:
Step 2: Install Operating System
Nothing fancy here, we’re going to install a headless version of Raspbian (the standard flavor of linux for Raspberry Pi)
On your computer (not on the Pi), insert the SD card.
Install OS with these steps:
- Visit raspberrypi.org/downloads/raspbian
- Download the “Lite” version because we will be running headless
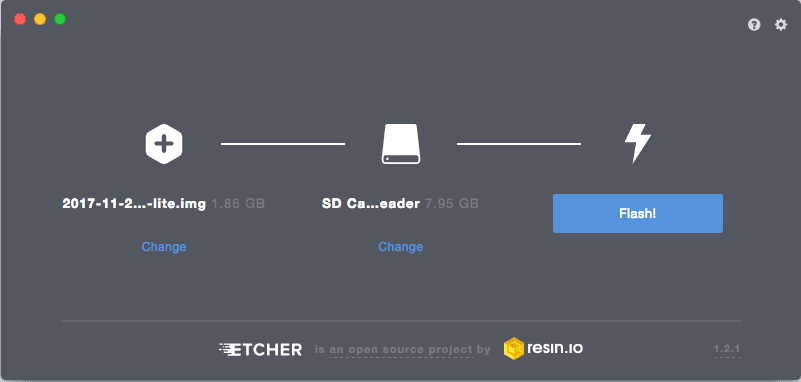
- While the image downloads, download and install Etcher, which we’ll use to easily copy the Raspian to the SD card
- Launch Etcher, select the new linux image, and the SD card.
- Press the “Flash!” button, and install the OS
Step 3: Enable SSH in Raspbian OS
Before booting up our new Raspberry Pi, we need to enable SSH. We do this by adding an empty file to the boot folder on the SD card.
Once Etcher finishes installing Raspian on your SD card, run the following: (this is from my mac, your directory path may vary)
touch /Volumes/boot/ssh
Step 4: Boot up your raspberry pi!
You can now insert the SD card in the Pi, and power it on.
To configure the Pi for your wireless network, we’re going to connect initially over the USB port labeled “data”. This allows us to SSH over USB using OTG networking network connection. More background here.
Steps:
- Connect your computer to the Pi’s USB port labeled “data”
- Boot up the Pi 🤘
- Once the Pi has booted up, you should be able to SSH in by running
ssh [email protected] #default password is `raspberry`
NOTE from now on all commands will be run in the SSH session we just created above.
Step 5: Finish configuring your Raspian OS
Now that we can SSH into the running Raspberry Pi, lets update the default password/hostname, and enable wifi.
Change the default password
Change the default password for pi by running
passwd
Update the hostname
Your Airplay selection menu will display the hostname your Pi, so lets choose a memorable name. I’m naming mine airplay_pi
-
Update the hostname by running
hostname -
Update
/etc/hosts- 127.0.1.1 raspberrypi + 127.0.1.1 airplay_pi -
Update
/etc/hostname- raspberrypi + airplay_pi
Setup wifi
We can manually set the router’s network name and password by adding it to /etc/wpa_supplicant/wpa_supplicant.conf
- Run
sudo vi /etc/wpa_supplicant/wpa_supplicant.conf - At the bottom of the file add the following:
network={ ssid="testing" psk="testingPassword" } -
Shut it down with
sudo poweroffand disconnect it from your laptop.See more in the Raspberry Pi docs
NOTE: If you change your wifi password in the future, you’ll need to connect over USB and update this file accordingly
Ok, you can now connect to the Raspberry Pi on your wireless network by running ssh pi@airplay_pi.local 🤘🤘
Step 6: Power on, and connect to your home network
In this section we’ll use our new wifi connection to install the DAC drivers, and the airplay server.
-
Install the DAC software
curl https://get.pimoroni.com/phatdac | bashSee more at the official setup guide.
-
Install airplay software
sudo apt-get install shairport-sync
Step 7: Enjoy your new AirPlay device!
At this point we should be able to see our Pi as an option from the airplay menu on your iOS device.
Plug the Pi into some speakers, connect to airplay_pi and enjoy your new Airplay speakers! 🤘🤘🤘